Featured Listings
Welcome to this tutorial module, you’ll learn about managing featured profiles on your directory. Whether you’re looking to highlight top lawyers, showcase new additions, or simply keep your directory dynamic, mastering the management of featured profiles is key.
Featuring a Restaurant
To feature a restaurant listing:
- Navigate to the ‘Restaurants’ menu and select the listing you wish to feature.
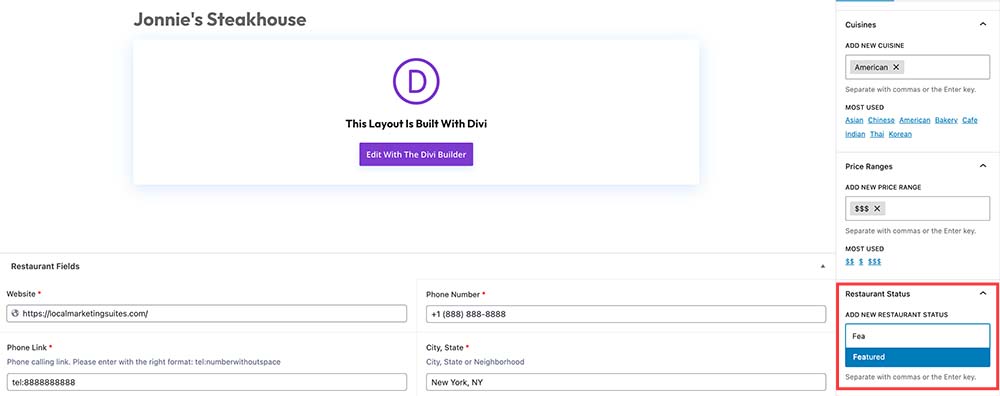
- Scroll down to the ‘Restaurant Status’ field within the listing editor.
- In the ‘Restaurant Status’ field, type ‘Featured’ and select the taxonomy that appears.
- Save the restaurant listing.
Add Detailed Information to the Featured Profile
After publishing a featured listing, you can enhance it by clicking ‘Use Divi Builder‘ to add comprehensive information to the listing.
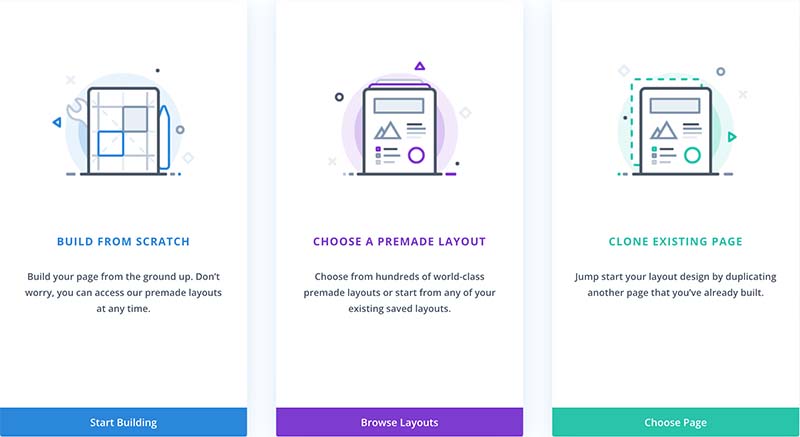
When you launch Divi Builder, 3 options will show up as below. Click “CHOOSE A PREMADE LAYOUT“
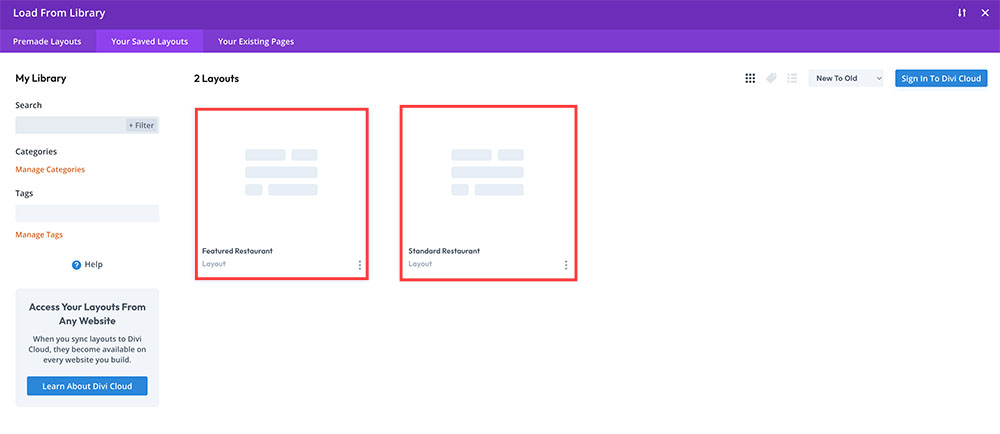
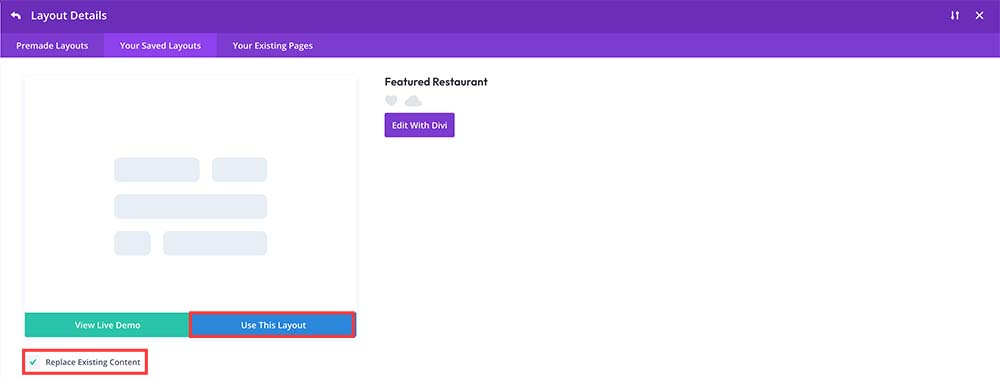
Next, select ‘YOUR SAVED LAYOUTS‘ and choose either Featured Restaurant.
If you accidentally click ‘Build From Scratch‘ or don’t see the premade layout selection, you can click to the (+) icon at the bottom function menu to open that.
Check the box for ‘Replace Existing Content‘ and click ‘Use This Layout‘.
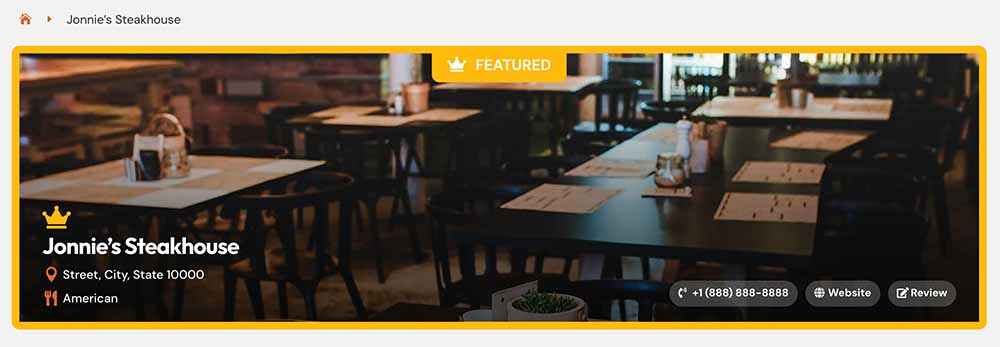
Featured Profile Page
After importing the featured profile layout. Your featured profile page will look like this:
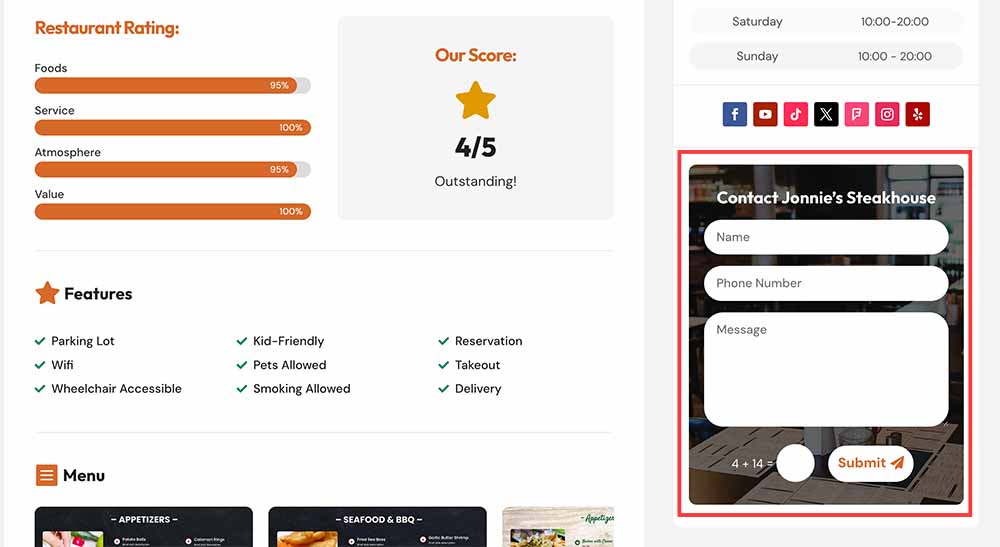
Each Featured Profile has a contact form on the right column, below the social media icons. You’ll be able to add emails of the lawyer on their so that they can receive the leads directly. It’s a PREMIUM FEATURE that should be highlighted when you deal with the restaurants.
Downgrade
In case a restaurant wants to revert to standard listing, you can:
– Go to the listing edit and remove the ‘Featured’ tag from the ‘Restaurant Status’ field.
– Edit the restaurant listing using the Divi Builder and remove the contact form.
Dedicated Contact Forms
One of the standout features of a featured profile in your directory is the provision of a dedicated contact form. This unique tool enables businesses to directly receive leads generated from your site, streamlining communication and enhancing their engagement with potential customers.
Step-by-Step Guide to Enabling the Contact Form
– Access Featured Listing Settings: When setting up or editing a featured listing, navigate to the contact form settings. This is where you’ll customize how the contact form operates for this specific profile.
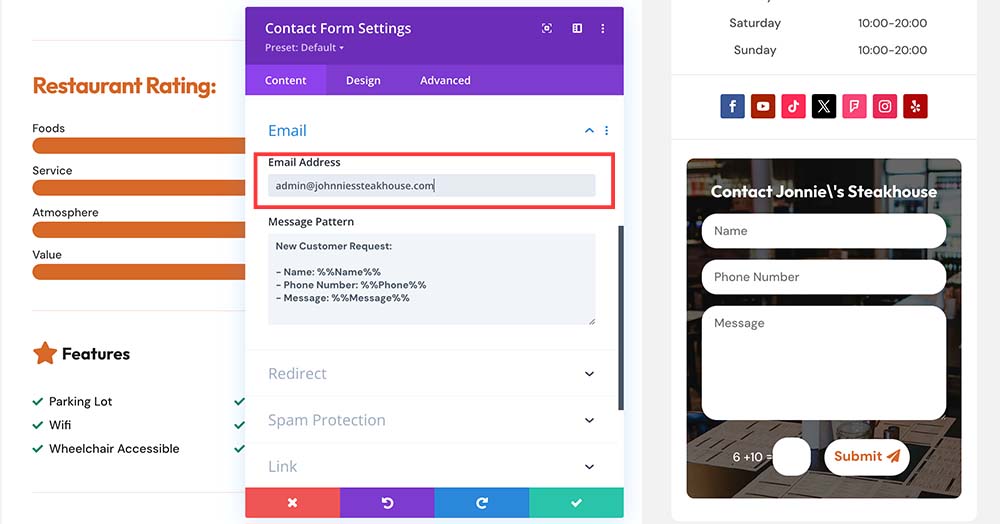
– Configuring Email Reception: Scroll to the ‘Emails’ section within the contact form settings. Here, you’ll find an option to specify where the entries from the contact form should be sent.
– Enter the Restaurant’s Email Address: In the ‘Email’ field provided, enter the email address of the restaurants or the business you are creating the featured profile for. This ensures that any queries or leads generated via the contact form are directly sent to them.
– Finalizing the Setup: Once the correct email address is entered, you’re almost done. Double-check to ensure the accuracy of the email to avoid any miscommunication.
– Test for Assurance: It’s always a good practice to run a quick test. Submit a test entry through the contact form to confirm that it is correctly routed to the specified email address.
Remember, contact form entries are always saved in your database and you can access them through the ‘Divi Form DB‘ menu from WordPress Dashboard.
