The Account System
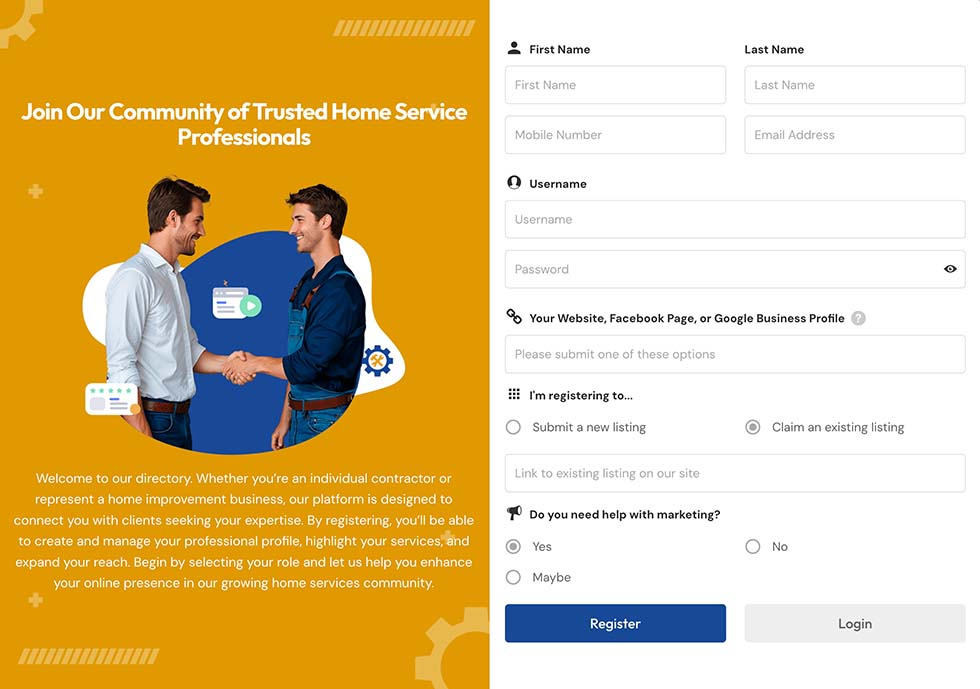
In the upgrade directory, I’ve included an account system that allows doctors and clinic managers to register an account to claim listings, submit listings, and submit blog posts. When you install the upgrade directory, everything is already set up for you, so there’s no need for any further configuration.
Here’s a sample process of how you can operate the directory with the account system:
1- You begin by populating the directory with as many basic listings in areas of your choice. These listings contain only basic information such as name, address, phone numbers, and websites.
2- Reach out to businesses with unclaimed listings on your site, either by crafting your own email or using the email template provided in OTO2, and invite them to create an account.
3- The business owner registers an account on your site.

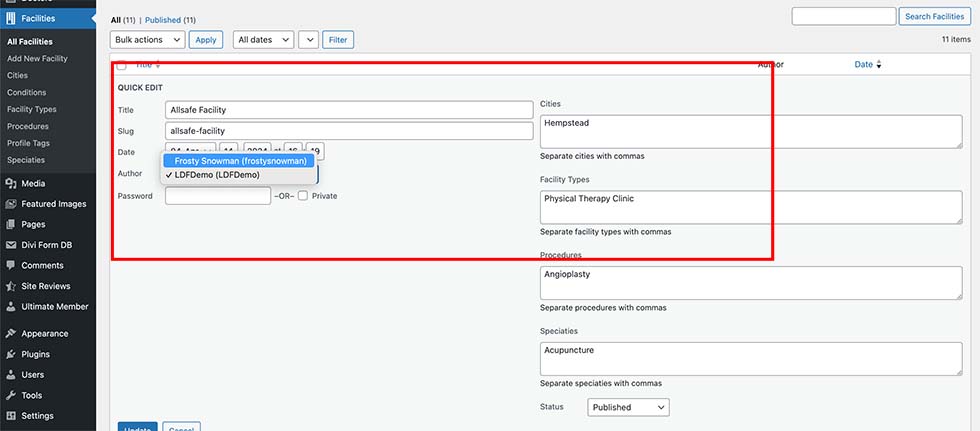
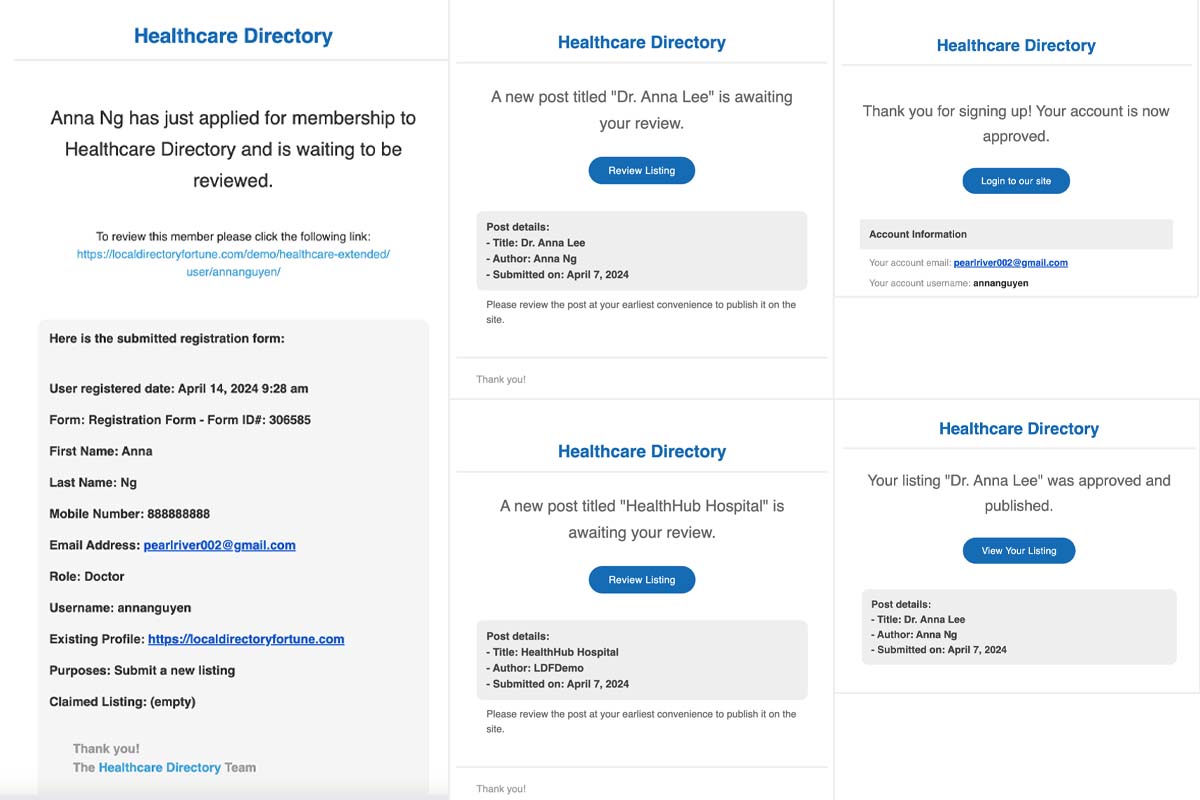
4- You receive an email about the registration. You can do a quick research or call the them to verify. Then you can approve them and assign the listing to their account. At this step, you also change their profile tier to ‘Standard’.


5- They can then edit their information and upload a featured image for their profile.
6- You’ll receive an email notification regarding a pending listing, allowing you to review the listing before approving it.
7- After approval, the user will receive an email notification.
8- Other doctors who are not yet listed on the directory may find your directory and register an account.
9- Once approved, they can start submitting new listings.


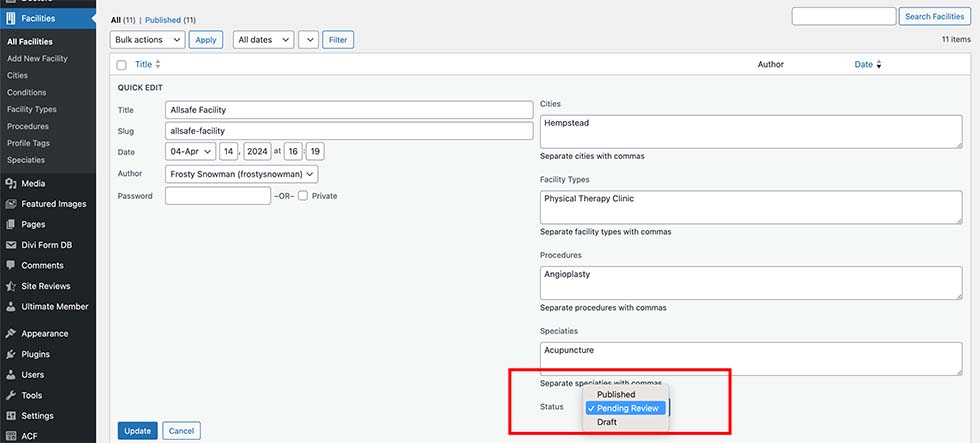
If you see a pending post, you can go to ‘Quick Edit’ and change the status to Publish to approve it. Alternatively, you can navigate to the detailed profile edit and hit the ‘Publish’ button on the top right.

Please note that email notifications require SMTP to be enabled on your hosting. SMTP, or Simple Mail Transfer Protocol, ensures that emails are sent reliably from your website. If you need assistance enabling SMTP, please refer to your hosting provider.
